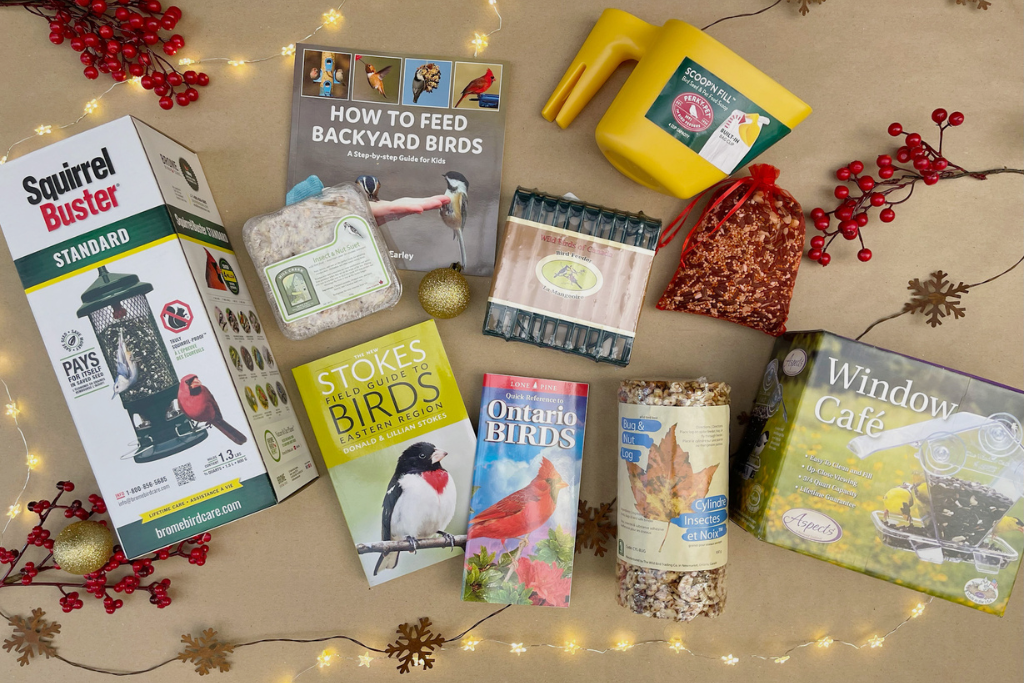
Offer
Provide additional details about the offer you're running.
FLASHSALE
Well, we’ve officially entered the mid-summer season as we celebrate the beginning of August and *gasp* the onset of fall migration. Yes, despite these beautiful warm and sunny days we have been blessed with over the last month or so, the truth remains that some of our migrants have already moved on or are readily preparing to head south on their annual journey.
While most of our summer species will remain here in our area for another month or two, this is also a great time to “check-in” and give your backyard feeders a quick mid-season clean-up to ensure they are in tip-top condition for the upcoming fall season.
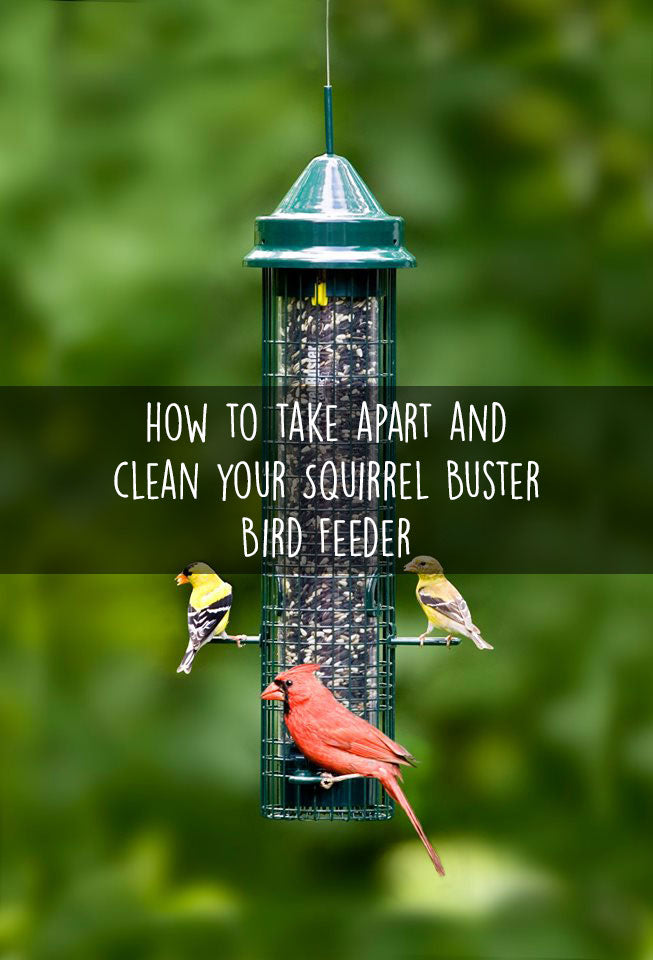
While each feeder is truly unique, this week we wanted to pay particular attention to our Squirrel Buster models. As one of our best-selling feeders of all time (thank you!), there’s no doubt in our mind that many of us often require a quick lesson or refresher in Squirrel Buster care and maintenance. With that in mind, let’s walk through the steps of how to dismantle a Squirrel Buster to allow for the best cleaning possible…


Just the same as any of your backyard bird feeders, proper cleaning and maintenance is truly important in preventing the spread of germs and disease among our feathered friends!
High Quality Blend