Offer
Provide additional details about the offer you're running.
FLASHSALE
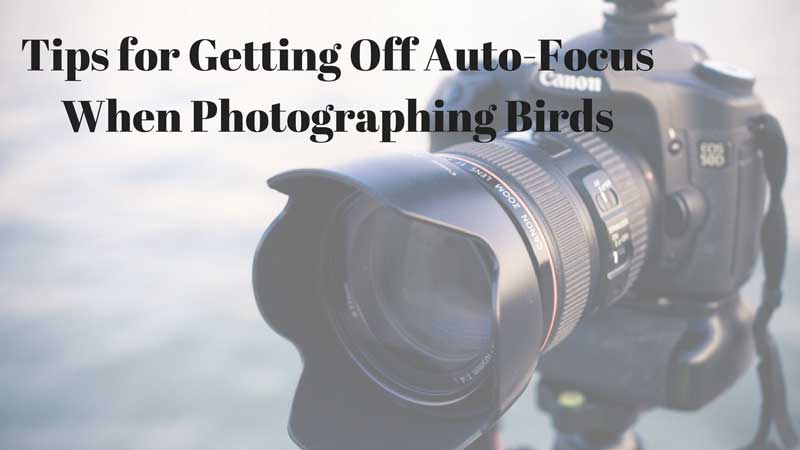
So, you’ve picked out a great camera body, and perhaps you have even gone out and got yourself a fancy new lens. After spending some time in the field, you are managing to capture some great shots, not only of birds but perhaps of other wildlife and bits of nature as well.
Just like any other hobby, photography can quickly become somewhat of a rabbit hole, depending on how deep you allow yourself to go. For most of us, the road to improvement is one we often traverse down and once we have something mastered, it is human nature to attempt to improve upon what we have learned.
When it comes to photographing wildlife, birds specifically, it can be a challenge to achieve the perfect shot, even with all the technology built into the auto-focus function on your camera. For those really looking to improve upon their photography, improvement often lies within learning how to properly utilize some of the other functions of your camera and go completely ‘manual’ the next time you head out into the field with your camera in hand.
One of Justine McNeely’s tips for photographing any bird is to focus on the eye of the subject. In her experience, this allows most camera/lenses to really capture the bird as a whole no matter how slowly or quickly they might be moving.
This is probably the first place you should start when trying to photograph wildlife such as birds. Given the fact that they seldom hold still for their close up, you will want to ensure your shutter speed is up to snuff. Firstly, assess what it is you are framing and decide what kind of detail and crispness you want to achieve in the photograph. While a mallard duck sitting on a nearby pond might cooperate with as low as 300 to 500 shutter speed, a busy warbler will not.
When photographing a bird in motion (think launching owl or buzzing hummingbird), you will want to be between 1000 to 5000 shutter speed which would allow you to catch every movement. Otherwise, dial it down. Much like everything else with regards to photography, this will take some time to test and learn what works best for your camera and lens, so always have fun with it.
When using higher shutter speeds, you will inevitably need higher ISO’s to really capture the moment. What the ISO does is it measures the sensitivity of the image sensor, meaning lower ISO’s are used in good lighting, while higher ISO’s are suited for darker situations to amp up those shutter speeds.
Working in tandem with ISO is the aperture, which also controls the amount of light reaching the image sensor. It is within these settings that you will inevitably define the depth of field in the photograph and their settings are dependent on the quality of the lens you are shooting with. With a good quality lens, you can dial down to a more mid-range aperture (f/8 or f/11) to really get dramatic increases in image quality.
High Quality Blend